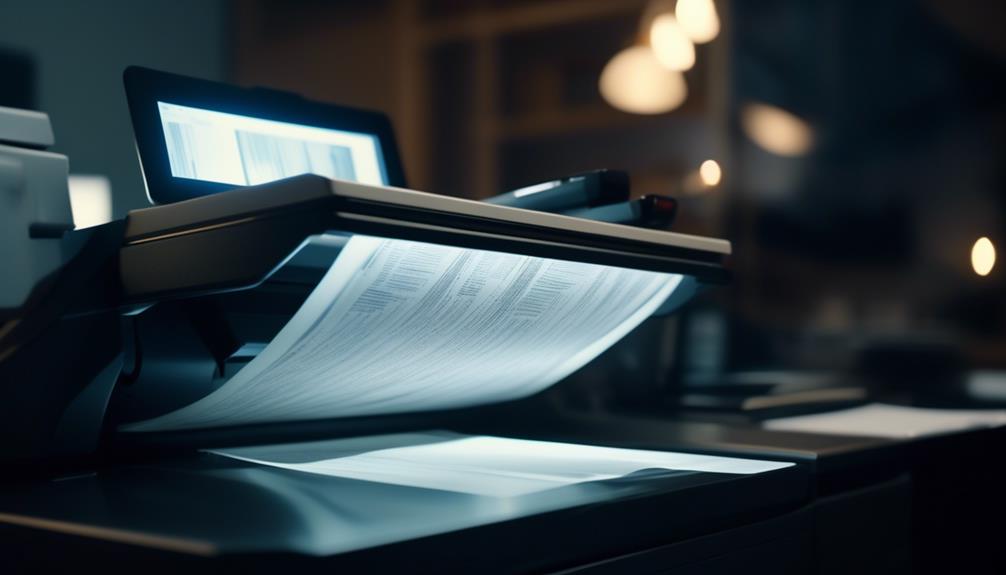
Scanning images for data entry is like peeling back the layers of a mysterious package, revealing the hidden treasures within. It’s a process that requires precision and attention to detail, ensuring that every piece of information is captured accurately. But how exactly do you navigate this digital landscape? Well, buckle up, because in this discussion, we’ll guide you through the steps of scanning images for data entry, unraveling the secrets behind this essential task. So, if you’re ready to uncover the key to efficient data entry, let’s dive right in.
Choose a Flat Surface
To ensure accurate and efficient scanning, choose a flat surface for placing the images. When it comes to scanning images for data entry, selecting the right surface is crucial for obtaining clear and legible results. By using a flat surface, you can eliminate any potential distortions or shadows that may affect the quality of your scans.
One important factor to consider is lighting. Choosing the right lighting conditions can significantly impact the outcome of your scans. Ideally, you should position the images in an area with even and natural lighting. Avoid harsh lighting or direct sunlight, as they can cause glare or reflections on the images, resulting in poor quality scans.
Additionally, if you are scanning multiple images, it is important to arrange them on the flat surface in an organized and consistent manner. This will help you keep track of each image and ensure that none are missed during the scanning process. You can use a ruler or grid to align the images accurately and maintain a uniform size and orientation.
Clean the Scanner
Before scanning your images for data entry, ensure that the scanner is clean and free from any dust or debris. Cleaning the scanner is an important step to ensure the quality and accuracy of your scanned images. To clean the scanner, you will need some basic cleaning supplies and follow proper scanning techniques.
Start by turning off the scanner and unplugging it from the power source. This will prevent any accidental damage while cleaning. Gently wipe the scanner glass with a soft, lint-free cloth to remove any fingerprints or smudges. Avoid using abrasive materials or cleaning solutions as they can damage the glass.
Next, use a can of compressed air to blow away any dust or debris that may have accumulated on the scanner’s surface. Be sure to target the areas around the edges and corners of the glass where dust tends to accumulate.
For stubborn stains or marks, you can dampen the cloth with a small amount of glass cleaner or isopropyl alcohol. Ensure that the cloth is only slightly damp, and never spray any liquids directly onto the scanner.
Once the scanner is clean and dry, you can plug it back in and power it on. Now you are ready to start scanning your images for data entry, knowing that your scanner is in optimal condition.
Place the Image Face Down
After ensuring that the scanner is clean and free from any dust or debris, the next step in the scanning process is to place the image face down. This is a crucial step to ensure accurate and clear scanning results. Placing the image face down allows the scanner to capture the image in its entirety without any distortion. Here are some important points to consider when placing the image face down:
- Orientation: Make sure that the image is placed in the correct orientation to avoid any confusion or errors during data entry.
- Alignment: Align the image properly on the scanner bed to ensure that it is straight and centered.
- Avoidance of Shadows: Ensure that there are no shadows cast on the image when placing it face down. Shadows can affect the image quality and make it difficult to read or extract data accurately.
- Image Resolution: Check the image resolution settings on the scanner to ensure that it is set to the desired level. Higher resolution settings result in clearer and more detailed scanned images.
Select the Correct Settings
To ensure efficient scanning and optimize image quality, it is crucial to select the correct settings. This includes adjusting the resolution, color mode, and file format based on the requirements of the scanned document. By choosing the appropriate settings, you can enhance the readability and accuracy of the scanned data, ultimately improving the overall data entry process.
Settings for Efficient Scanning
For optimal efficiency in scanning images, ensure that you select the appropriate settings. Here are four essential settings to consider:
- Image Resolution: Choose a resolution that strikes a balance between clarity and file size. Higher resolutions provide more detail but result in larger file sizes, while lower resolutions may compromise legibility.
- File Format: Select a file format that suits your needs. JPEG is ideal for photographs, as it compresses the image while maintaining good quality. For documents with text, PDF is recommended as it preserves formatting and can be easily searched.
- Color Mode: Determine whether the image should be scanned in color, grayscale, or black and white. Color is suitable for preserving vibrant visuals, grayscale is useful for capturing shades of gray, and black and white is perfect for text-based documents.
- Output Size: Consider the dimensions of the output file. Choose a size that fits the purpose of the scanned image, whether it’s for printing, web use, or archiving.
Optimizing Image Quality
To ensure optimal image quality, select the correct settings based on your specific needs and preferences. Improving resolution is essential for capturing clear and detailed images. Higher resolution settings result in sharper and more precise scans, making it easier to read and extract data. Adjusting brightness is another crucial factor in optimizing image quality. If the image is too dark, important details may be lost, while if it is too bright, the image may become overexposed and lose clarity. Finding the right balance is key to producing high-quality scans. Consider experimenting with different brightness levels to achieve the best results for your specific documents. By carefully selecting the appropriate resolution and adjusting the brightness, you can ensure that your scanned images are of the highest quality for accurate data entry.
Press the Scan Button
Pressing the scan button is the first step in initiating the image scanning process for data entry. Once you have positioned the document properly, follow these steps to ensure a smooth scanning experience:
- Clear instructions: Make sure you understand the scanning instructions provided by the scanner manufacturer. Read the user manual or check online resources for any specific guidelines.
- Check connectivity: Ensure that your scanner is properly connected to your computer. Check the cables and ports to troubleshoot any connectivity issues.
- Scan settings: Adjust the scan settings according to your requirements. Select the appropriate file format, resolution, and color mode for your document. Experiment with different settings to find the best balance between image quality and file size.
- Preview before scanning: Take advantage of the preview feature to review the scanned image before finalizing the scan. This allows you to make any necessary adjustments or corrections to ensure accurate data entry.
Save the Image
Once you have successfully scanned the image, the next step is to save it. Saving the image is crucial as it ensures that you have a digital copy that can be easily accessed and manipulated. To save the image, follow these steps:
- Crop the image: Before saving, it is important to crop the image to remove any unnecessary parts. This can be done using image editing software or the scanning device itself. Crop the image to include only the relevant information that needs to be converted to text.
- Convert to text: After cropping, you may want to convert the image to text for easier data entry. Optical Character Recognition (OCR) software can be used to extract the text from the image. This will save you time and effort, as you won’t have to manually type the information.
- Choose the file format: When saving the image, consider the file format that best suits your needs. Formats like JPEG or PNG are commonly used for images, while PDF is ideal if you want to preserve the formatting and structure of the document.
- Select the destination folder: Lastly, choose the folder where you want to save the image. Organize your files in a way that makes it easy for you to find and retrieve them later.
Open Data Entry Software
You can enhance your data entry process by utilizing open data entry software. Open data entry software provides several benefits that can significantly improve your efficiency and accuracy in data entry automation. Here are four reasons why you should consider using open data entry software:
- Increased productivity: Open data entry software automates repetitive tasks, such as data extraction and validation, allowing you to focus on more complex and value-added activities.
- Improved accuracy: With built-in validation rules and error checks, open data entry software reduces the chances of data entry errors, ensuring the accuracy and reliability of your data.
- Seamless integration: Open data entry software seamlessly integrates with other applications, such as spreadsheet software or databases, enabling smooth and efficient data transfer and synchronization.
- Flexibility and customization: Open data entry software allows you to customize the data entry process according to your specific requirements. You can define your own templates, rules, and workflows to adapt the software to your unique data entry needs.
Frequently Asked Questions
How Can I Ensure the Scanned Image Is of High Quality and Clarity?
To ensure your scanned image is of high quality and clarity, follow best practices for image scanning. Adjust the scanner settings, clean the scanner glass, and use a resolution suitable for data entry.
Can I Scan Multiple Images at Once and Save Them as Separate Files?
Yes, you can scan multiple images at once and save them as separate files. This allows for efficient organization of your scanned files and saves you time in the data entry process.
What Should I Do if the Scanner Is Not Recognizing the Image or Producing Distorted Results?
If the scanner is not recognizing the image or producing distorted results, troubleshoot by checking the scanner settings, ensuring the image is clean and properly positioned, and adjusting the image enhancement options if available.
Is It Possible to Edit the Scanned Image Before Saving It?
You can totally edit the scanned image before saving it! It’s like magic. You can adjust the resolution and make it look all fancy. Just click a few buttons and voila!
How Can I Optimize the Scanned Image for Accurate Data Entry, Particularly for Handwritten or Faded Text?
To optimize the scanned image for accurate data entry, improve the resolution to capture finer details and enhance the contrast to extract data from handwritten or faded text more effectively.


